02
03
Pinewood Derby Stories and Photos from Maximum Velocity
04
05
15
16
19
20
21
22
23
24
25
26
27
28
31
32
33
34
Shop Talk: "Frame and Skin" Car Construction
By James White
I would like to share the "Frame and Skin" car construction method used by my grandson (Aaron Shain) and myself for pinewood derby car building.
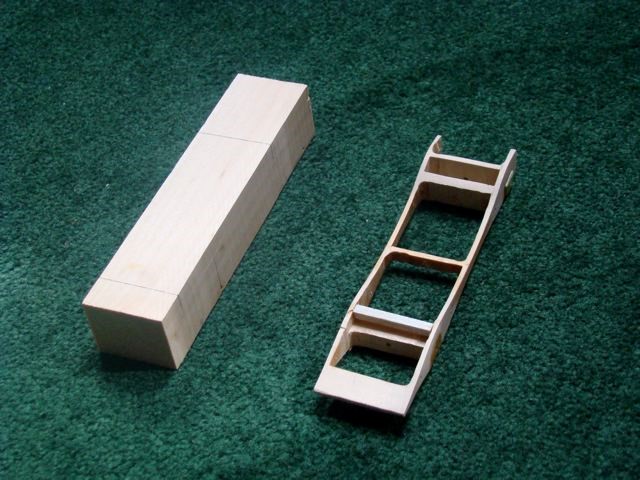
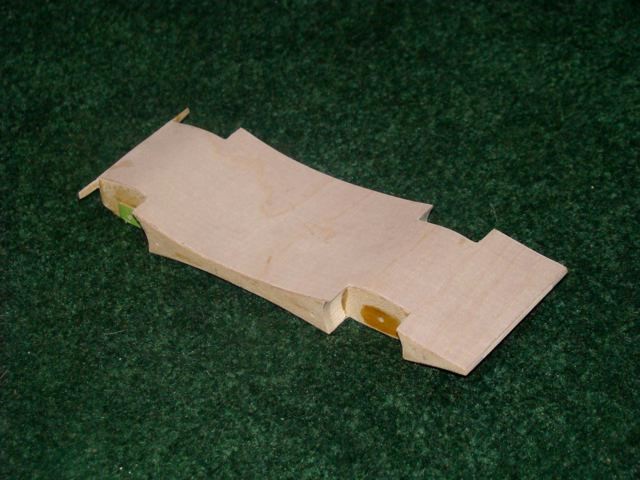
We start with a normal pinewood derby block with drilled axle holes. After cutting out the profile we want, we remove all material except the frame of our car, and then we apply a rock hard varnish to the areas where the wheel hubs will rub the frame.
Figure 1 - Frame of Car
(An additional support piece was added over the front axle holes)
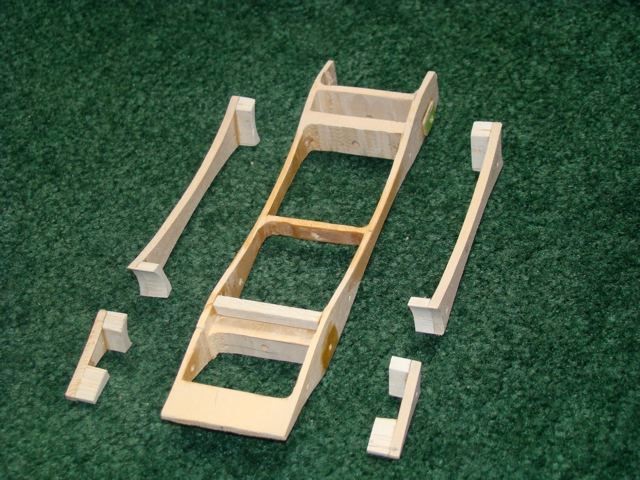
Next we build side extenders to be glued to the frame sides.
Figure 2 - Side Extenders
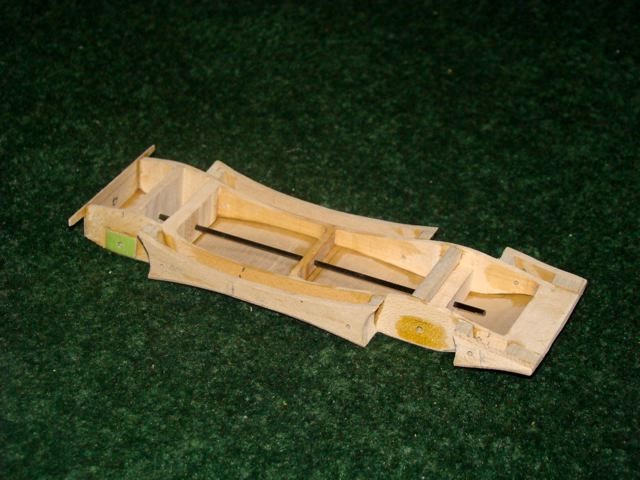
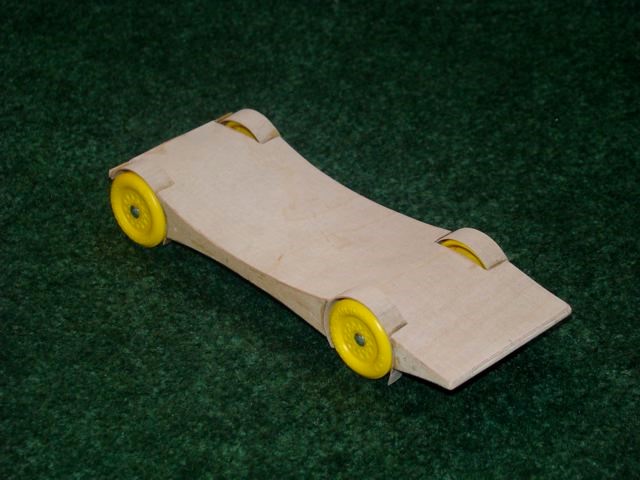
We then add a carbon fiber rod for stiffness down the car center and glue a 1/64 inch thick model plywood bottom skin onto the frame.
Figure 3 - Carbon Fiber Rod, and Bottom Skin
Tungsten weight is then added into the two rear pockets (not shown in photos). We target 4.85 ounces with all parts included. Tungsten putty is used as trim weight after the car is complete. The putty is placed into 1/8 inch holes drilled into the bottom of the car between the two rear axles.
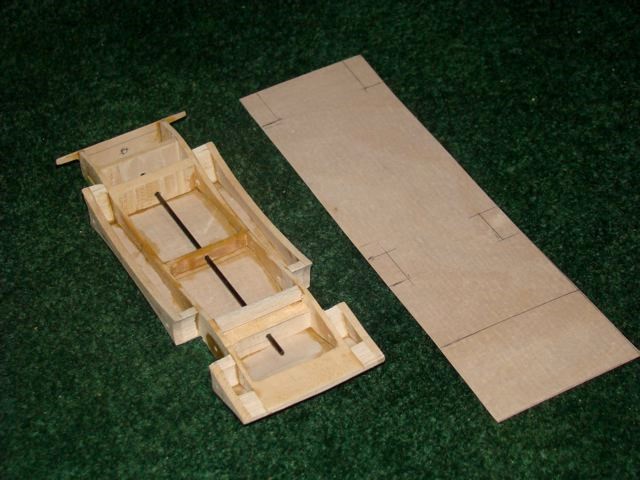
Next, a 1/64 inch thick top body skin is cut out and glued to the frame.
Figure 4 - Top Skin
Figure 5 - Top Skin Installed
Fender tops are placed over the wheel wells (if desired). At this point, we install the prepped wheels and axles to do some tuning and testing.
Figure 6 - Fender Tops
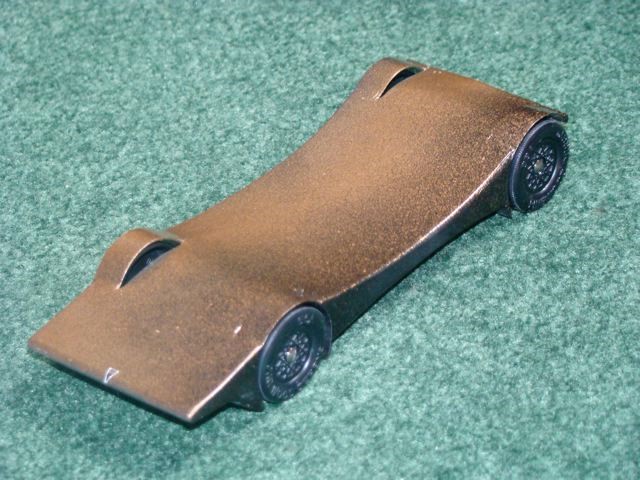
After a paint job is applied, we are ready to race!
Figure 7 - Finished Car
(Photo is of a sister car, so the wheels are different)